Containers optimize our daily development work. They’re standardized, so that we can easily switch between development environments — either migrating to testing or reusing container images for production workloads.
However, a challenge arises when you need more than one container. For example, you may develop a web frontend connected to a database backend with both running inside containers. While possible, this approach risks negating some (or all) of that container magic, since we must also consider storage interaction, network interaction, and port configurations. Those added complexities are tricky to navigate.
How Docker Compose Can Help
Docker Compose streamlines many development workloads based around multi-container implementations. One such example is a WordPress website that’s protected with an NGINX reverse proxy, and requires a MySQL database backend.
Alternatively, consider an eCommerce platform with a complex microservices architecture. Each cycle runs inside its own container — from the product catalog, to the shopping cart, to payment processing, and, finally, product shipping. These processes rely on the same database backend container runtime, using a Redis container for caching and performance.
Maintaining a functional eCommerce platform means running several container instances. This doesn’t fully address the additional challenges of scalability or reliable performance.
While Docker Compose lets us create our own solutions, building the necessary Dockerfile scripts and YAML files can take some time. To simplify these processes, Docker introduced the open source Awesome Compose library in March 2020. Developers can now access pre-built samples to kickstart their Docker Compose projects.
What does that look like in practice? Let’s first take a more detailed look at Docker Compose. Next, we’ll explore step-by-step how to spin up a new development project using Awesome Compose.
Having some practical knowledge of Docker concepts and base commands is helpful while following along. However, this isn’t required! If you’d like to brush up or become familiarized with Docker, check out our orientation page and our CLI reference page.
How Docker Compose Works
Docker Compose is based on a compose.yaml file. This file specifies the platform’s building blocks — typically referencing active ports and the necessary, standalone Docker container images.
The diagram below represents snippets of a compose.yaml file for a WordPress site with a MySQL database, a WordPress frontend, and an NGINX reverse proxy:
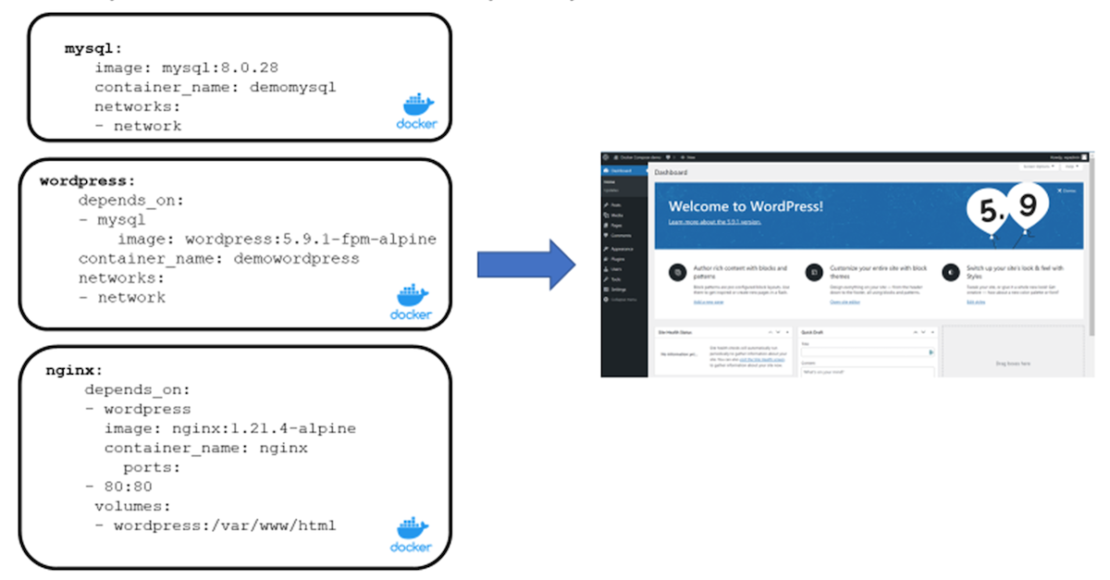
We’re using three separate Docker images in this example: MySQL, WordPress, and NGINX. Each of these three containers has its own characteristics, such as network ports and volumes.
mysql:
  image: mysql:8.0.28
  container_name: demomysql
  networks:
  	- network
wordpress:
  depends_on:
  	- mysql
  image: wordpress:5.9.1-fpm-alpine
  container_name: demowordpress
  networks:
  	- network
nginx:
  depends_on:
  	- wordpress
  image: nginx:1.21.4-alpine
  container_name: nginx
    ports:
  	- 80:80
  volumes:
  	- wordpress:/var/www/html
Originally, you’d have to use the docker run command to start each individual container. However, this introduces hiccups while managing interactions across each container related to network and storage. It’s much more efficient to consolidate all necessary objects into a docker compose scenario.
To help developers deploy baseline scenarios faster, Docker provides a GitHub repository with several environments, available for you to reuse, called Docker Awesome Compose. Let’s explore how to run these on your own machine.
How to Use Docker Compose
Getting Started
First, you’ll need to download and install Docker Desktop (for macOS, Windows, or Linux). Note that all example outputs in this article, however, come from a Windows Docker host.
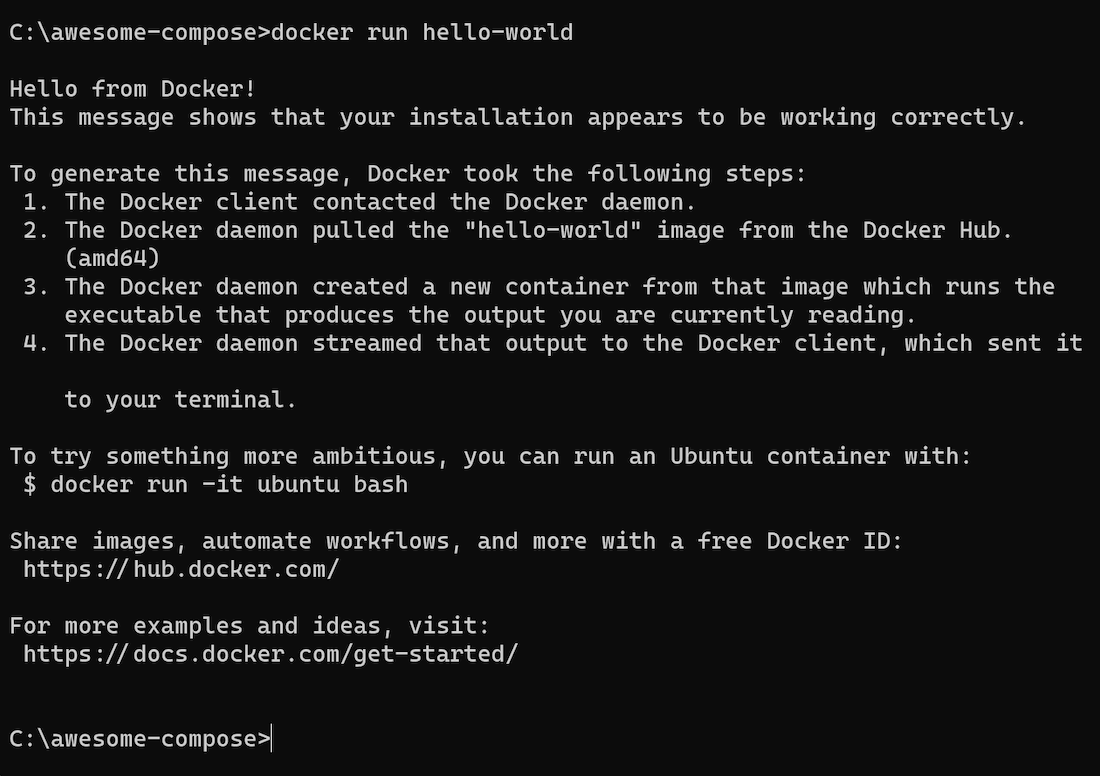
You can verify that Docker is installed by running a simple docker run hello-world command:
C:\>docker run hello-world
This should produce the following output, indicating that things are working correctly:
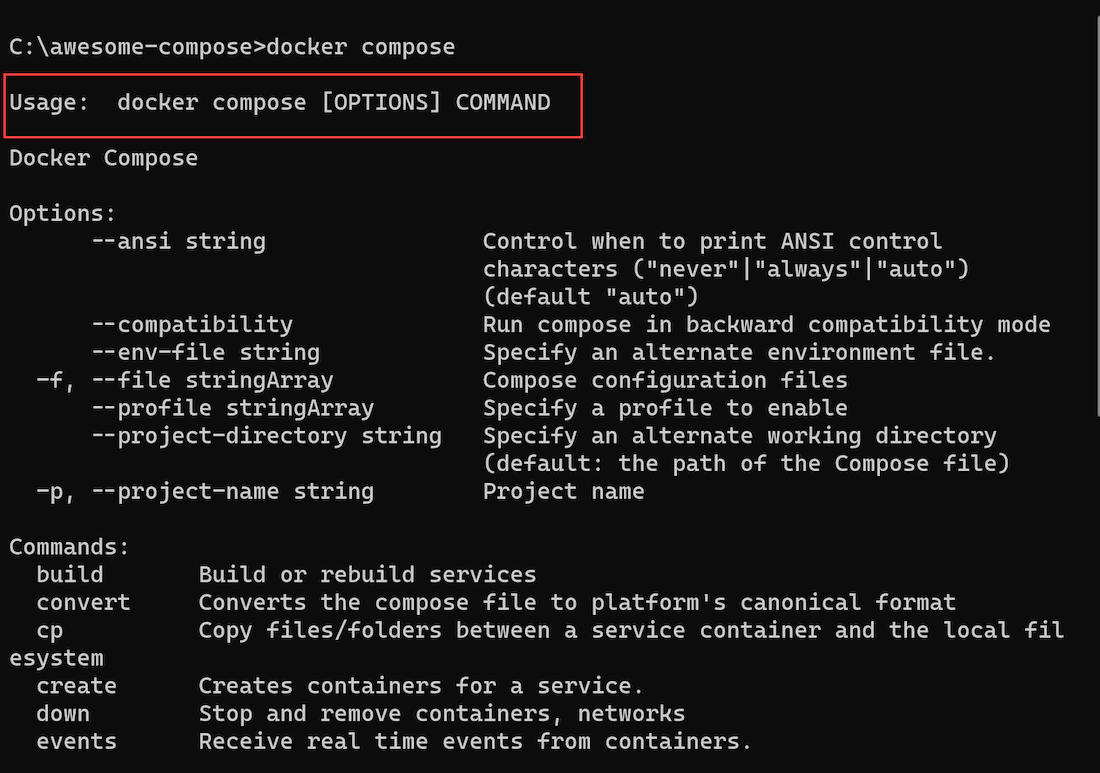
You’ll also need to install Docker Compose on your machine. Similarly, you can verify this installation by running a basic docker compose command, which triggers a corresponding response:
C:\>docker compose
Next, either locally download or clone the Awesome Compose GitHub repository. If you have Git running locally, simply enter the following command:
git clone https://github.com/docker/awesome-compose.git

If you’re not running Git, you can download the Awesome Compose repository as a ZIP file. You’ll then extract it within its own folder.
Adjusting Your Awesome Compose Code
After downloading Awesome Compose, jump into the appropriate subfolder and spin up your sample environment. For this example, we’ll use WordPress with MariaDB. You’ll then want to access your wordpress-mysql subfolder.
Next, open your compose.yaml file within your favorite editor and inspect its contents. Make the following changes in your provided YAML file:
- Update line 9:
volumes: - mariadb:/var/lib/mysql - Provide a complex password for the following variables:
MYSQL_ROOT_PASSWORD(line 12)MYSQL_PASSWORD(line 15)WORDPRESS_DB_PASSWORD(line 27)
- Update line 30:
volumes: mariadb(to reflect the name used in line 9 for this volume)
While this example has mariadb enabled, you can switch to a mysql example by commenting out image: mariadb:10.7 and uncommenting #image: mysql:8.0.27.
Your updated file should look like this:
services:
  db:
    # We use a mariadb image which supports both amd64 & arm64 architecture
    image: mariadb:10.7
    # If you really want to use MySQL, uncomment the following line
    #image: mysql:8.0.27
    #command: '--default-authentication-plugin=mysql_native_password'
    volumes:
      - mariadb:/var/lib/mysql
    restart: always
    environment:
      - [email protected]
      - MYSQL_DATABASE=wordpress
      - MYSQL_USER=wordpress
      - [email protected]
    expose:
      - 3306
      - 33060
  wordpress:
    image: wordpress:latest
    ports:
      - 80:80
    restart: always
    environment:
      - WORDPRESS_DB_HOST=db
      - WORDPRESS_DB_USER=wordpress
      - [email protected]
      - WORDPRESS_DB_NAME=wordpress
volumes:
  mariadb:
Save these file changes and close your editor.
Running Docker Compose
Starting up Docker Compose is easy. To begin, ensure you’re in the wordpress-mysql folder and run the following from the Command Prompt:
docker compose up -d
This command kicks off the startup process. It downloads and soon runs your various container images from Docker Hub. Now, enter the following Docker command to confirm your containers are running as intended:
docker compose ps
This command should show all running containers and their active ports:

Verify that your WordPress app is active by navigating to http://localhost:80 in your browser — which should display the WordPress welcome page.
If you complete the required fields, it’ll redirect you to the WordPress dashboard, where you can start using WordPress. This experience is identical to running on a server or hosting environment.
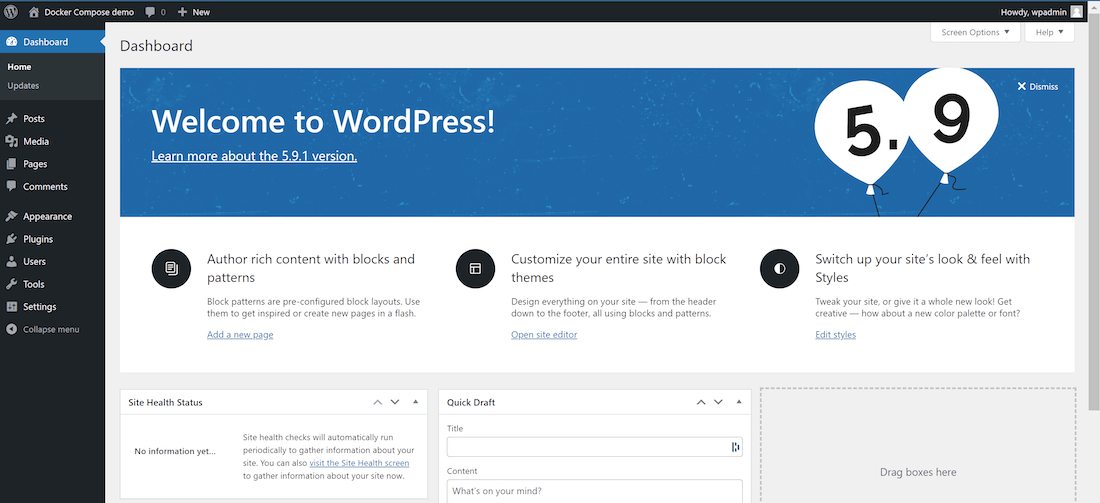
Once testing is complete (or you’ve finished your daily development work), you can shut down your environment by entering the docker compose down command.

Reusing Your Environment
If you want to continue developing in this environment later, simply re-enter docker compose up -d. This action displays the development setup containing all of the previous information in the MySQL database. This takes just a few seconds.

However, what if you want to reuse the same environment with a fresh database?
To bring down the environment and remove the volume — which we defined within compose.yaml — run the following command:
docker compose down -v

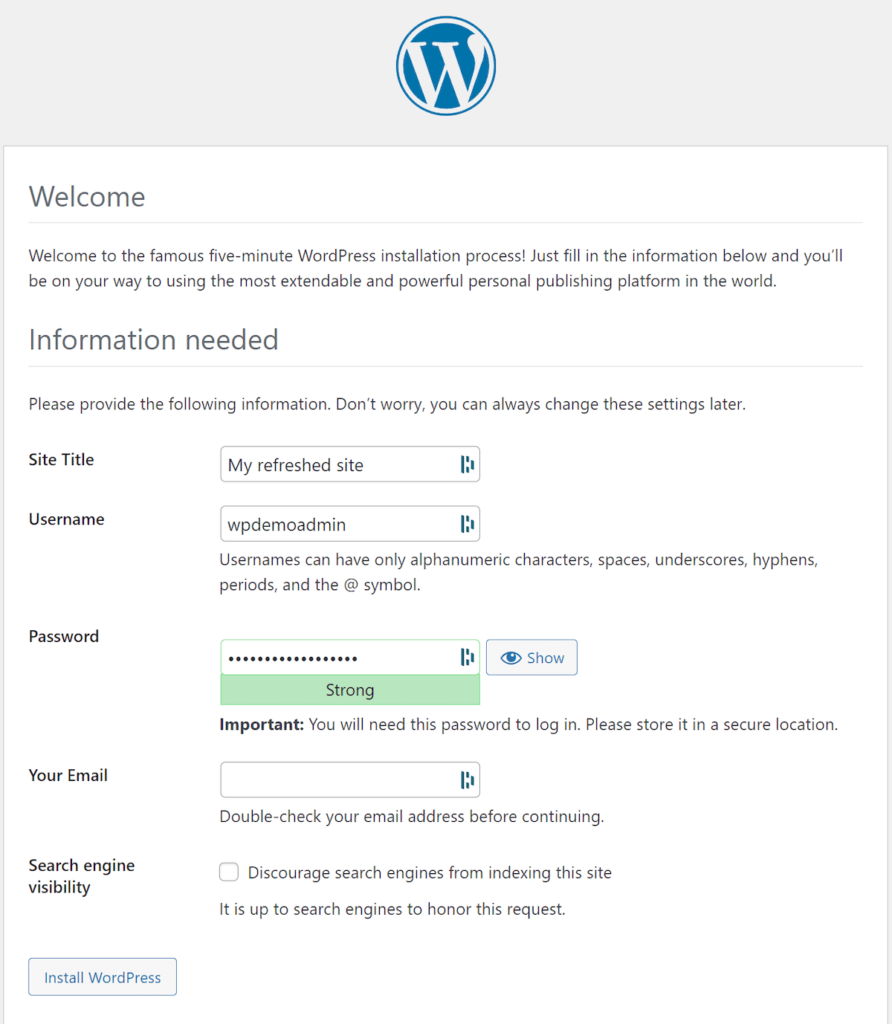
Now, if you restart your environment with docker compose up, Docker Compose will summon a new WordPress instance. WordPress will have you configure your settings again, including the WordPress user, password, and website name:
While Awesome Compose sample projects work out of the box, always start with the README.md instructions file. You’ll typically need to update your sample YAML file with some environmental specifics — such as a password, username, or chosen database name. If you skip this step, the runtime won’t start correctly.
Awesome Compose Simplifies Multi-Container Management
Agile developers always need access to various application development-and-testing environments. Containers have been immensely helpful in providing this. However, more complex microservices architectures — which rely on containers running in tandem — are still quite challenging. Luckily, Docker Compose makes these management processes far more approachable.
Awesome Compose is Docker’s open-source library of sample workloads that empowers developers to quickly start using Docker Compose. The extensive library includes popular industry workloads such as ASP.NET, WordPress, and React web frontends. These can connect to MySQL, MariaDB, or MongoDB backends.
You can spin up samples from the Awesome Compose library in minutes. This lets you quickly deploy new environments locally or virtually. Our example also highlighted how easy customizing your Docker Compose YAML files and getting started are.
Now that you understand the basics of Awesome Compose, check out our other samples and explore how Docker Compose can streamline your next development project.

Feedback
0 thoughts on "Quickly Spin Up New Development Projects with Awesome Compose"